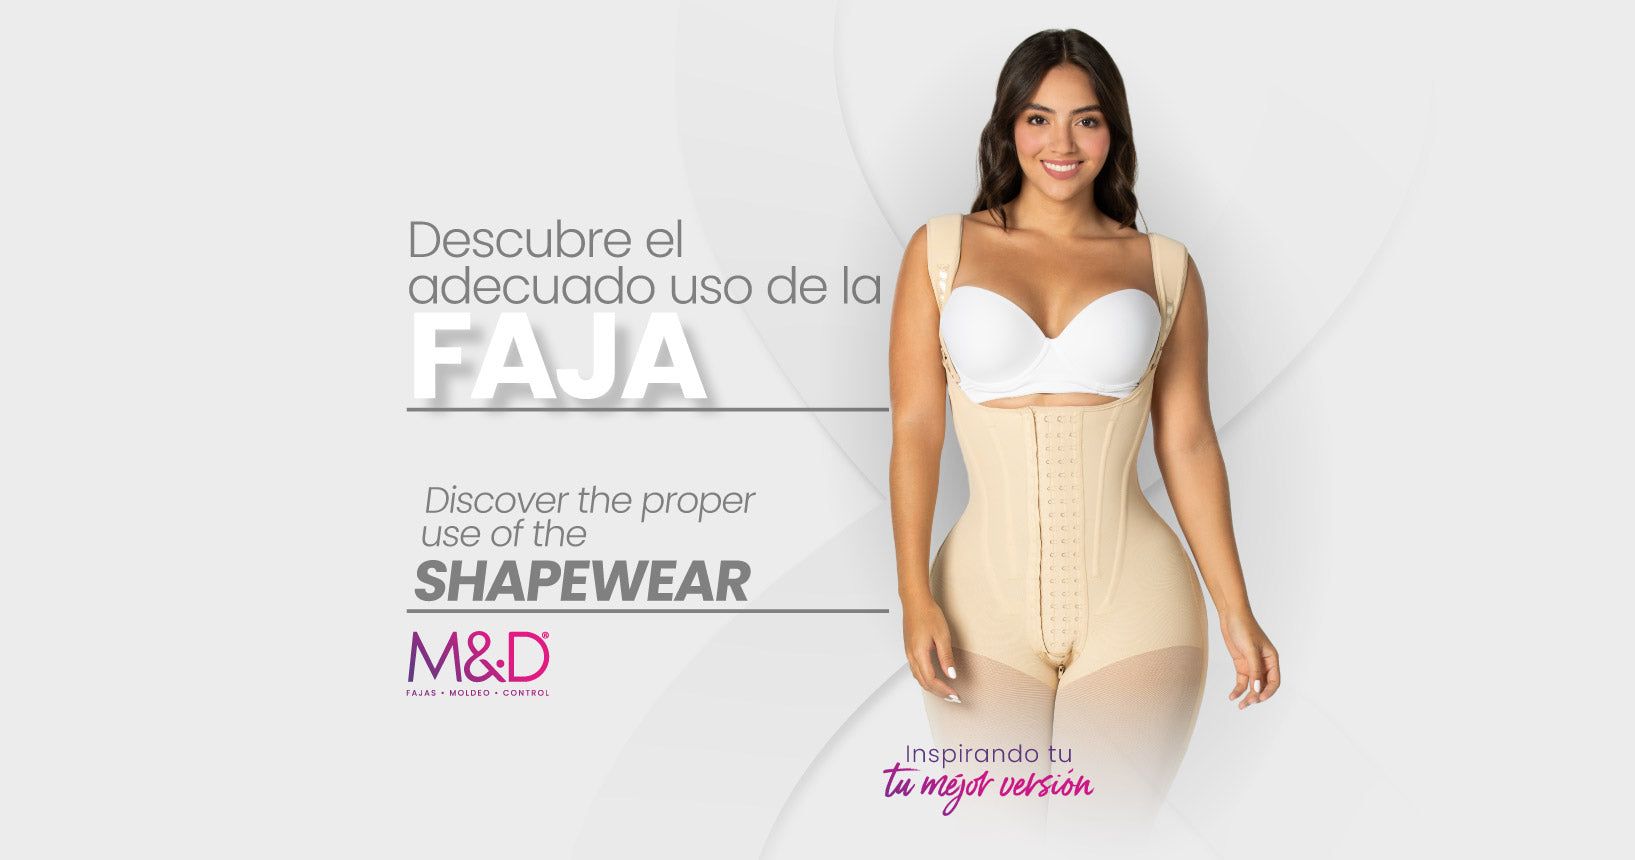
¡Aquí puedes aclarar
tus dudas!
Observa el paso a paso que debes seguir para el adecuado uso de tu prenda.
¡Here you can clear up
your doubts!
Follow the step-by-step
guide to properly use your garment.
Faja larga, corta y media pierna
Shapewear: long, short, and mid-thigh
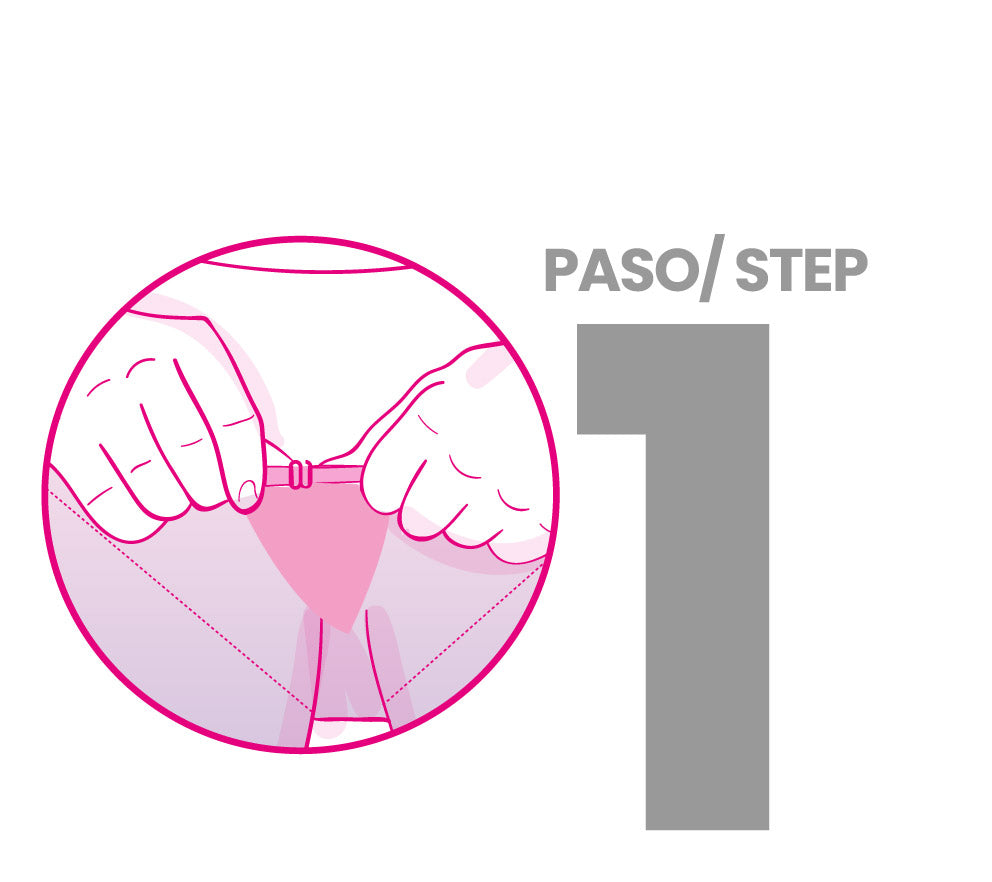
PASO 1° / STEP 1°
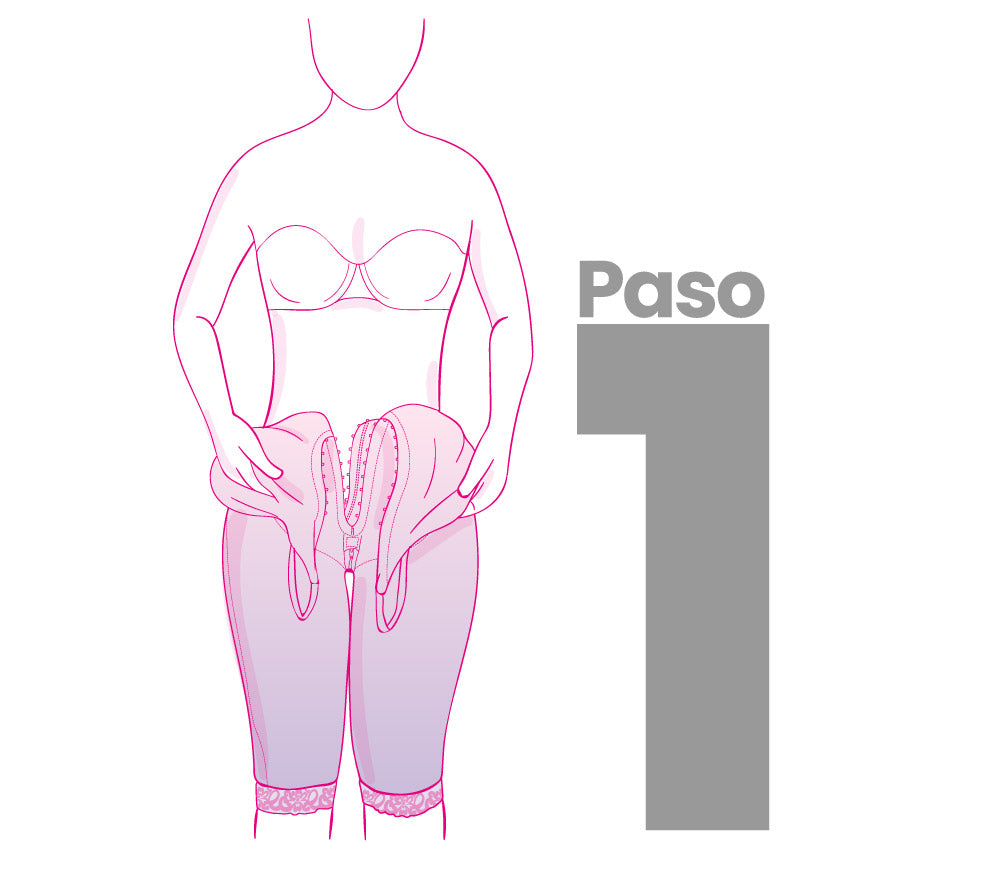
Estando de pie o sentada, ponga la prenda una pierna a la vez y súbela hasta la cadera. Asegúrese que las costuras queden bien ubicadas en la entrepierna y en los laterales.
While standing or sitting, the garment should be put on one leg at a time and pulled up to the hip. It is important to ensure that the seams are correctly positioned in the crotch and on the sides.
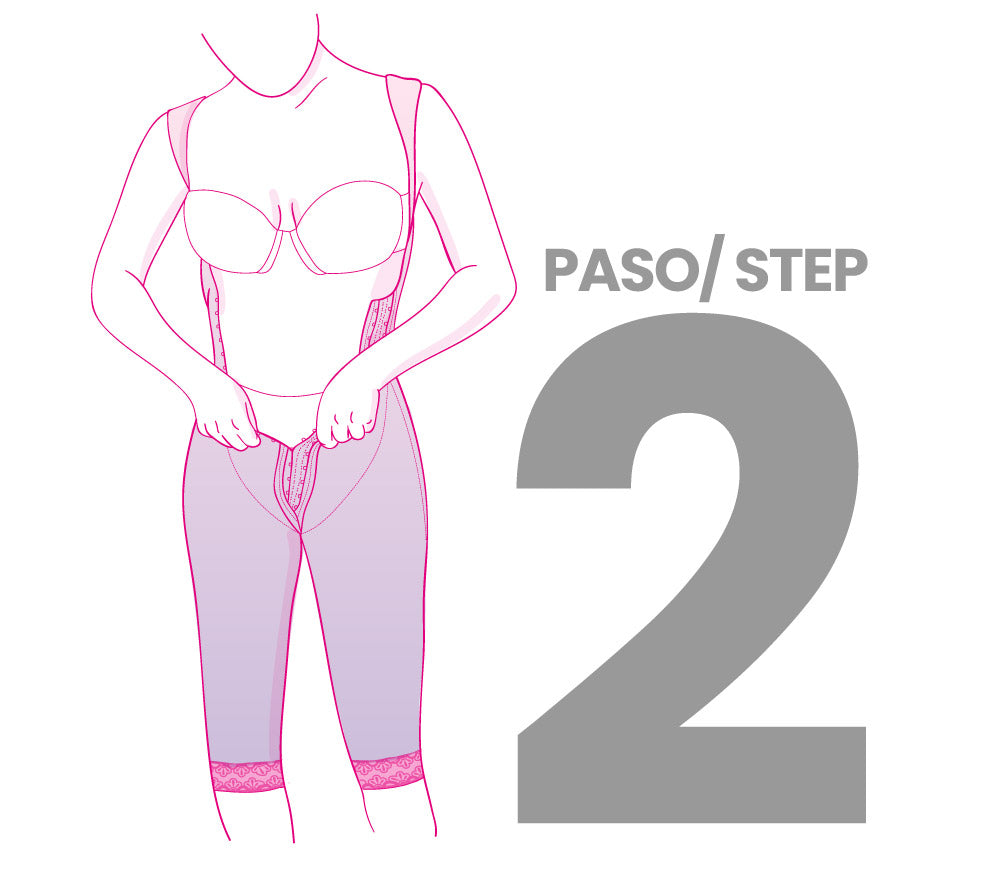
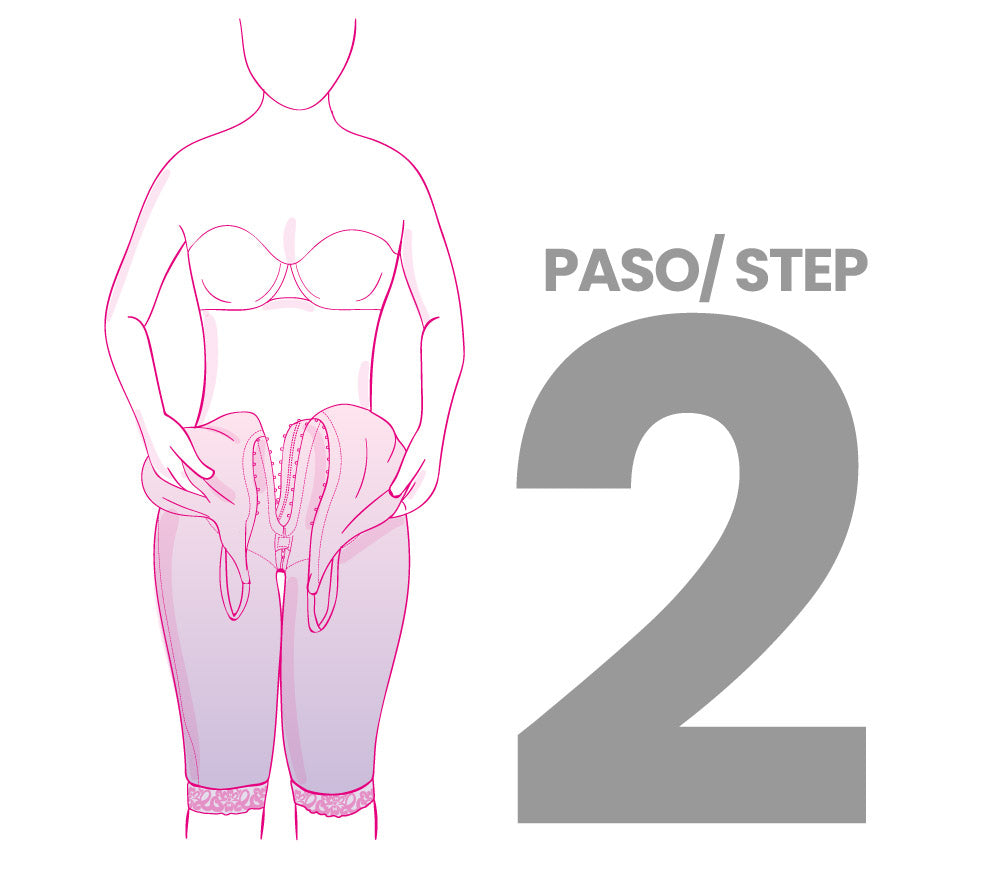
PASO 2° / STEP 2°
Estando de pie o sentada, ponga la prenda una pierna a la vez y súbela hasta la cadera. Asegúrese que las costuras queden bien ubicadas en la entrepierna y en los laterales.
Insert your hands into the sleeves and adjust the straps according to your measurements. Ensure that the fabric is arranged to avoid folds and that the natural buttock enhancement is correctly positioned.
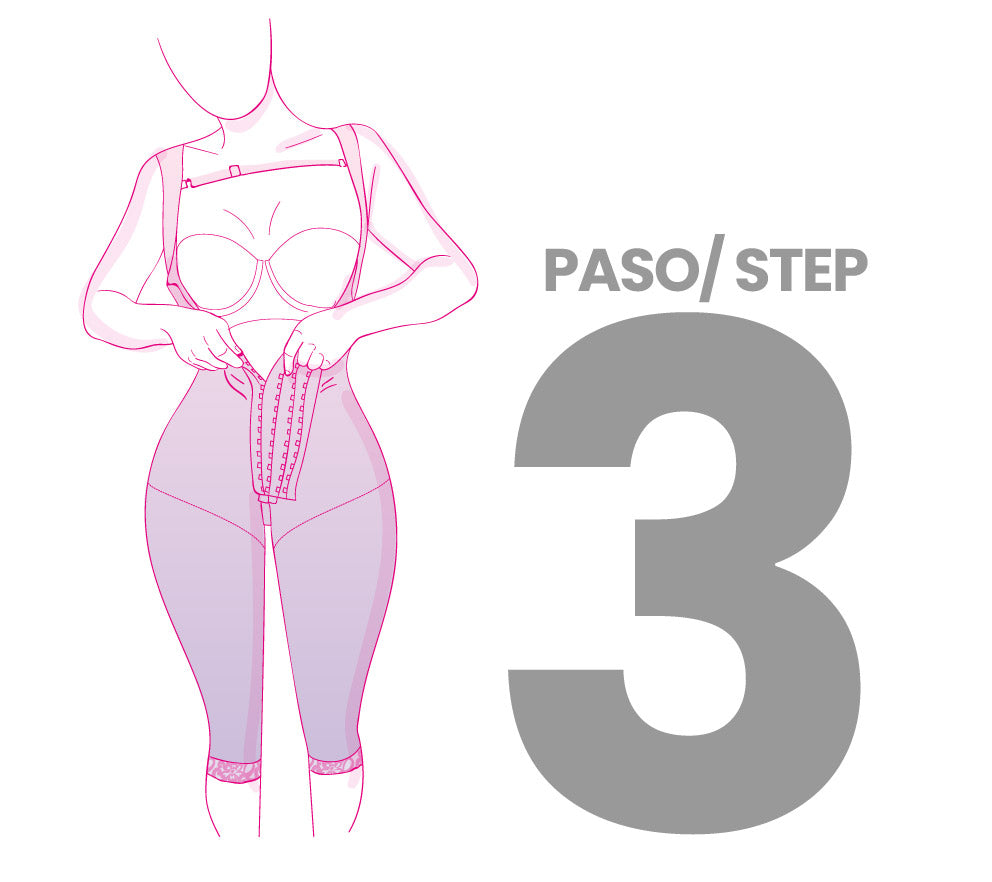
PASO 3° / STEP 3°
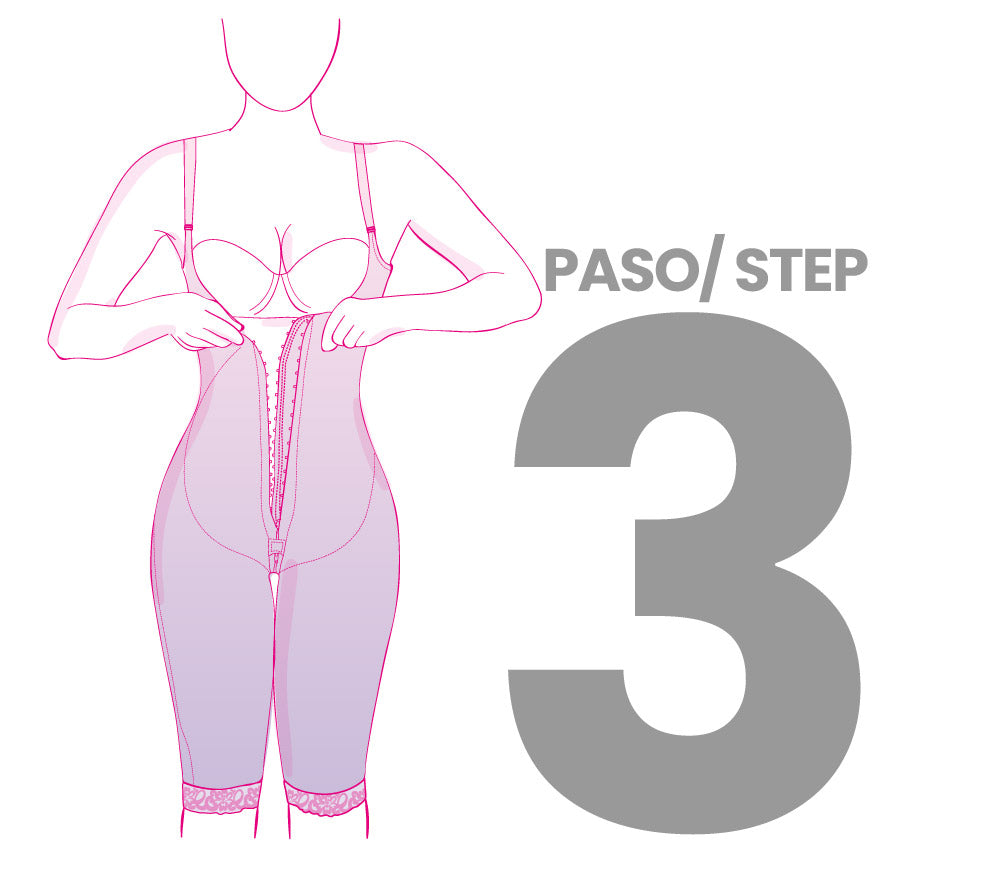
Suba la faja por la espalda y hale la prenda por los costados hasta sentirla cómoda para abrochar.
The garment should be pulled up the back and down the sides until it is comfortable to fasten.
PASO 4° / STEP 4°
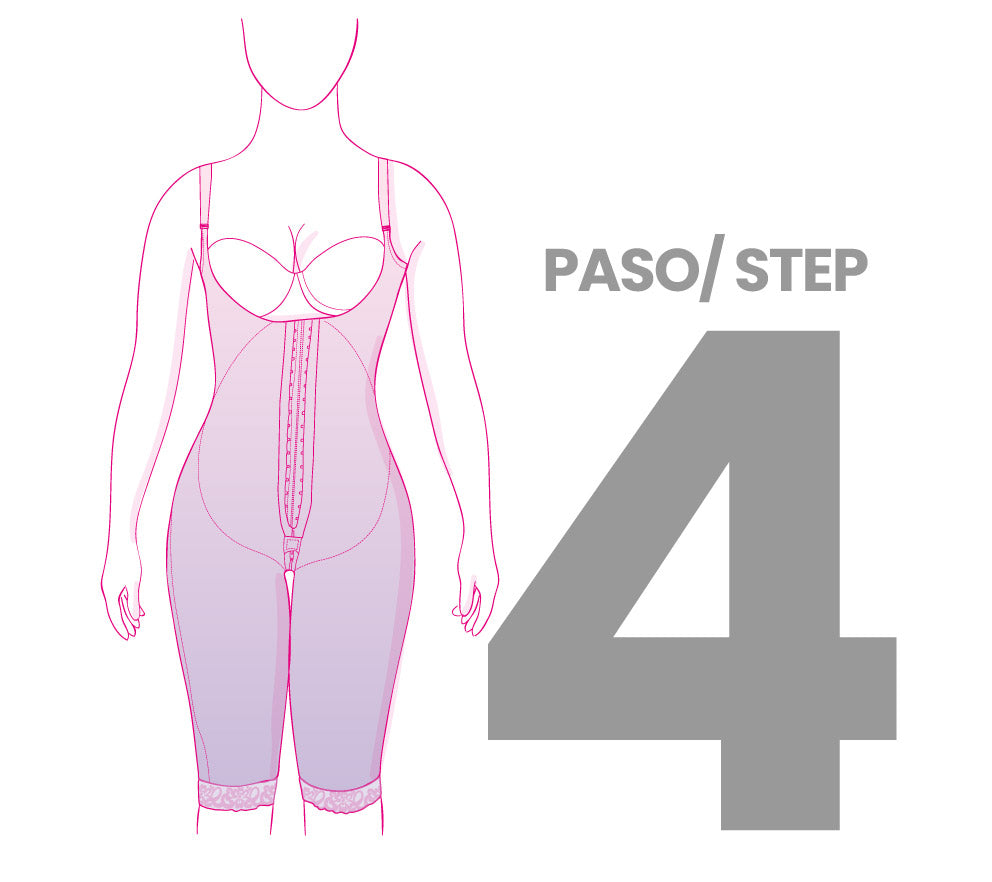
Cierre los ganchos de abajo hacia arriba sujetando ambos lados. Al terminar verifique que la prenda quede debajo del brasier, para dar un realce natural y tenga en cuenta que el encaje de las piernas no se enrolle.
Fasten the hooks from the bottom to the top, holding both sides. When finished, ensure that the garment is properly positioned beneath the bra to provide a natural enhancement and that the lace on the legs is securely in place.
Para las fajas con 4 niveles de ganchos
For shapewear with 4 levels of hooks
PASO 1° / STEP 1°
Verifique que el primer gancho de la parte inferior del gancho esté cerrado antes de empezar a ponerse la prenda, esto le permitirá subir la faja con más facilidad.
Prior to donning the garment, ensure that the initial hook at the base is secured. This will facilitate the upward adjustment of the garment.
PASO 2° / STEP 2°
Estando de pie, ponga la prenda una pierna a la vez y súbela hasta la cadera. Asegúrese que las costuras queden bien ubicadas en la entrepierna y los laterales.
While standing, put the garment on one leg at a time and pull it up to your hips. Ensure that the seams are correctly positioned at the crotch and sides.
PASO 3° / STEP 3°
Cierre los ganchos de abajo hacia arriba sujetando ambos lados. Al terminar verifique que la prenda quede debajo del brasier, para dar un realce natural y tenga en cuenta que el encaje de las piernas no se enrolle.
Fasten the hooks from the bottom to the top, holding both sides. Once complete, ensure the garment is properly positioned beneath the bra to provide a natural flare and prevent the lace on the legs from rolling up.
Para las fajas con cierre frontal
For front-zip shapewear
PASO 1° / STEP 1°
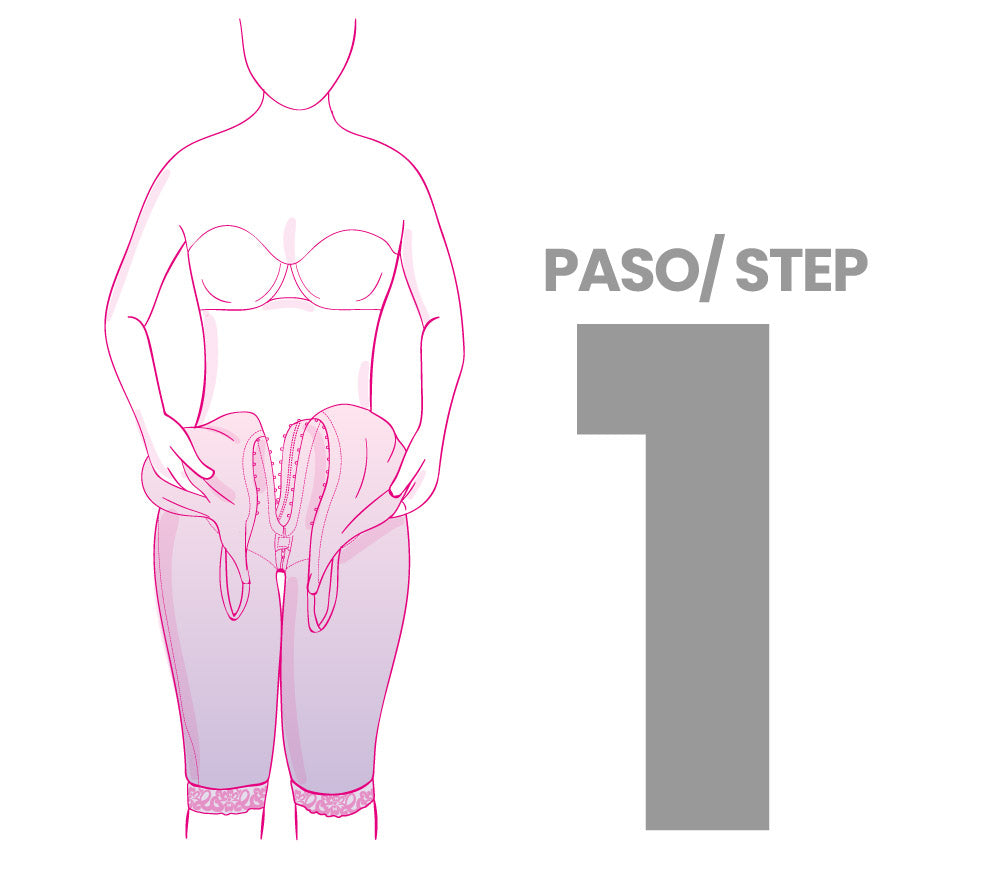
Después de subir la prenda hasta la cadera, introduzca las manos en las cargaderas o mangas.
Once the garment has been pulled up to the hips, insert your hands into the straps or sleeves.
PASO 2° / STEP 2°
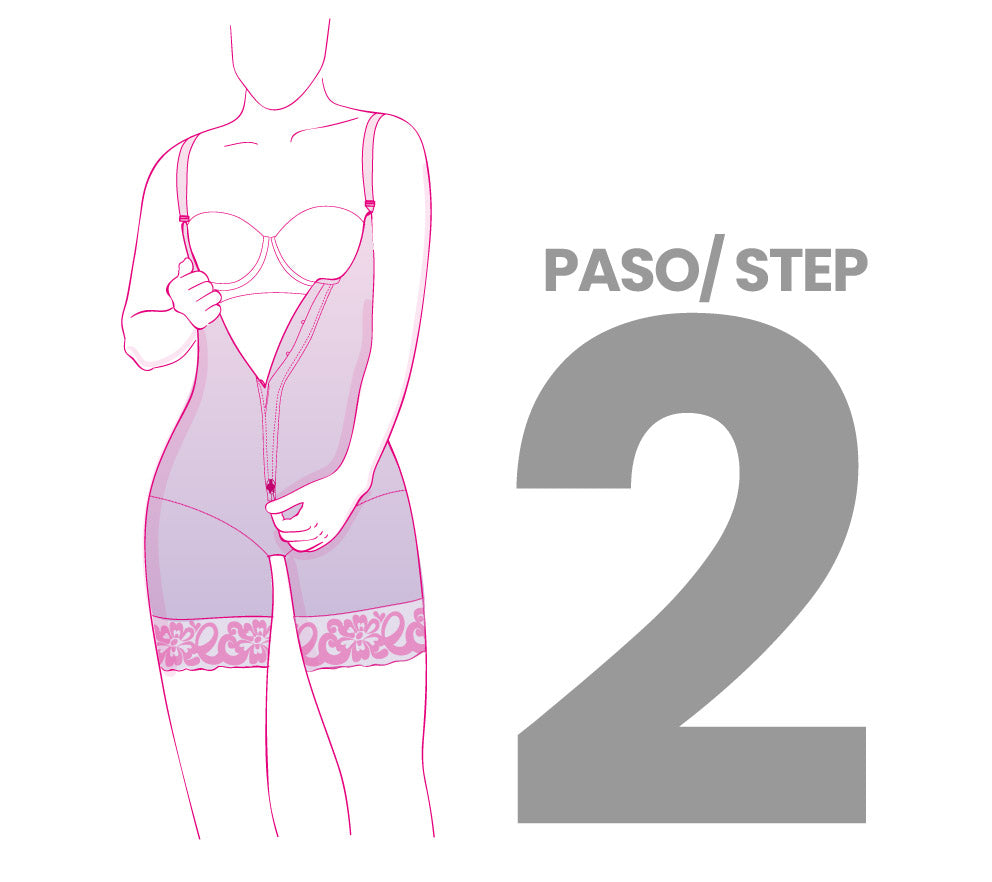
Estando de pie, ponga la prenda una pierna a la vez y súbela hasta la cadera. Asegúrese que las costuras queden bien ubicadas en la entrepierna y los laterales.
While standing, put the garment on one leg at a time and pull it up to your hips. Ensure that the seams are correctly positioned at the crotch and sides.
PASO 3° / STEP 3°

Cierre los ganchos de abajo hacia arriba sujetando ambos lados. Al terminar verifique que la prenda quede debajo del brasier, para dar un realce natural y tenga en cuenta que el encaje de las piernas no se enrolle.
Fasten the hooks from the bottom to the top, holding both sides. Once complete, ensure the garment is properly positioned beneath the bra to provide a natural flare and prevent the lace on the legs from rolling up.