¡Aquí puedes aclarar
tus dudas!
Observa el paso a paso que debes seguir para el adecuado uso de tu prenda.
¡Here you can clear up
your doubts!
Follow the step-by-step
guide to properly use your garment.
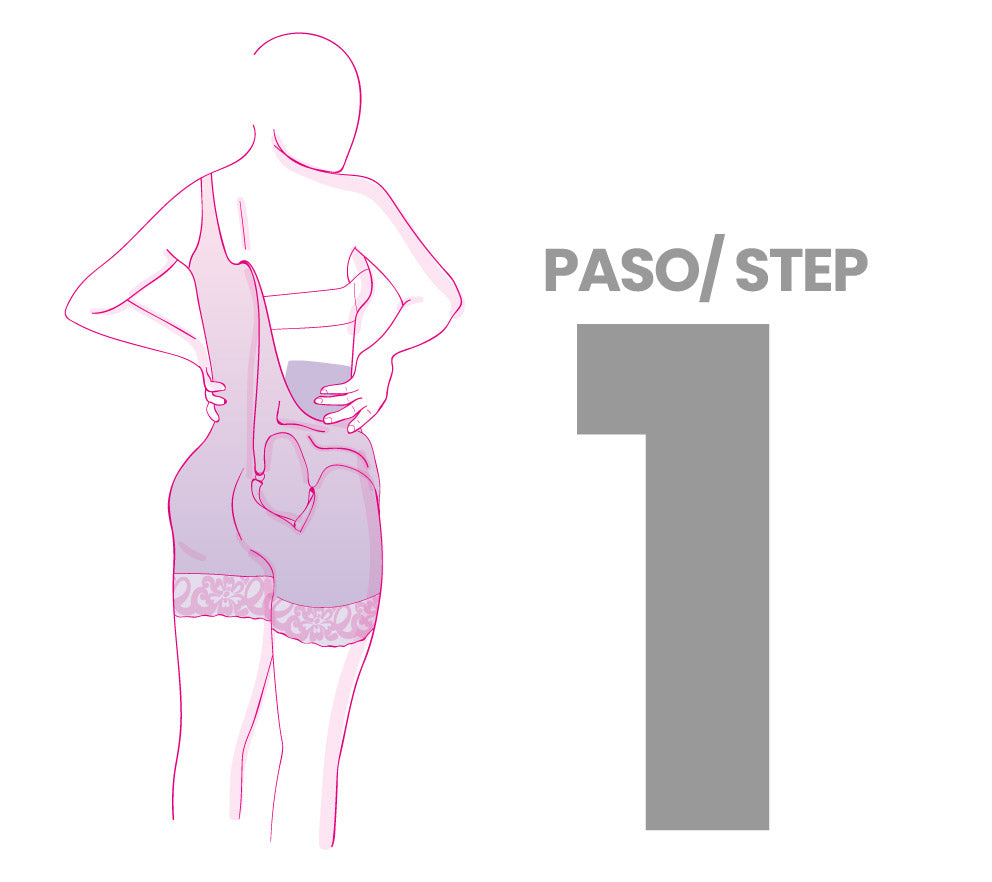
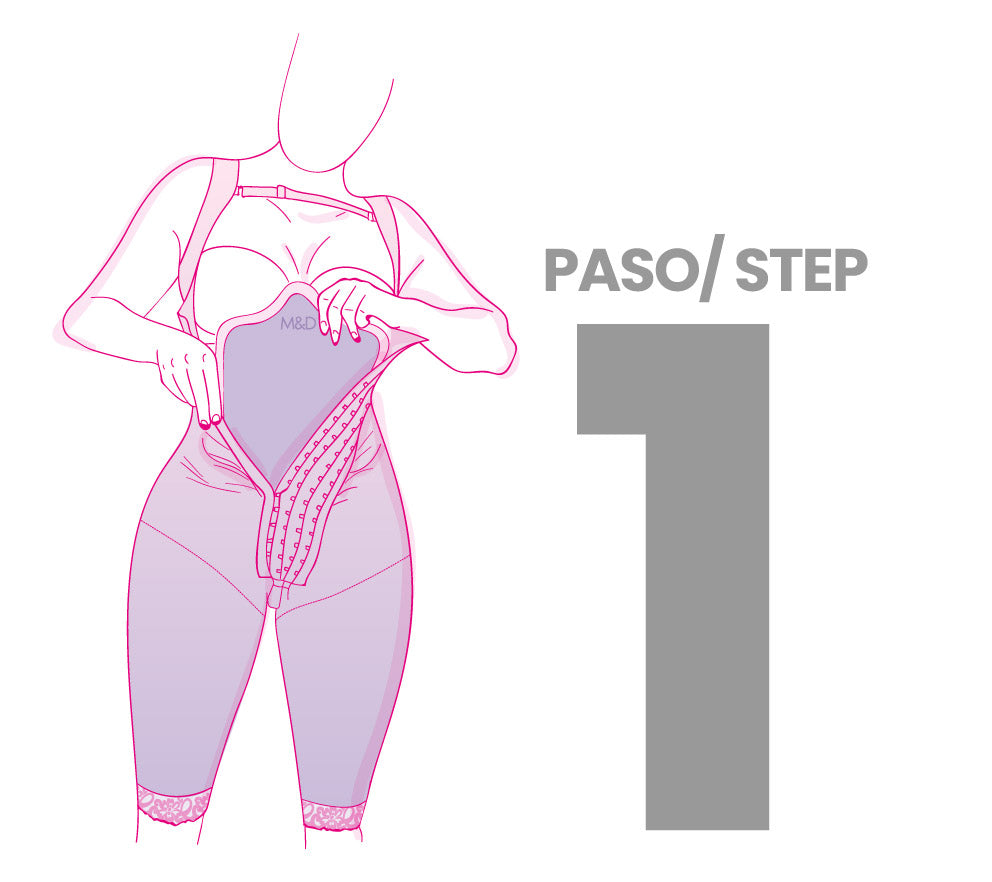
Cómo ponerse una tabla abdominal
How to put on an abdominal board
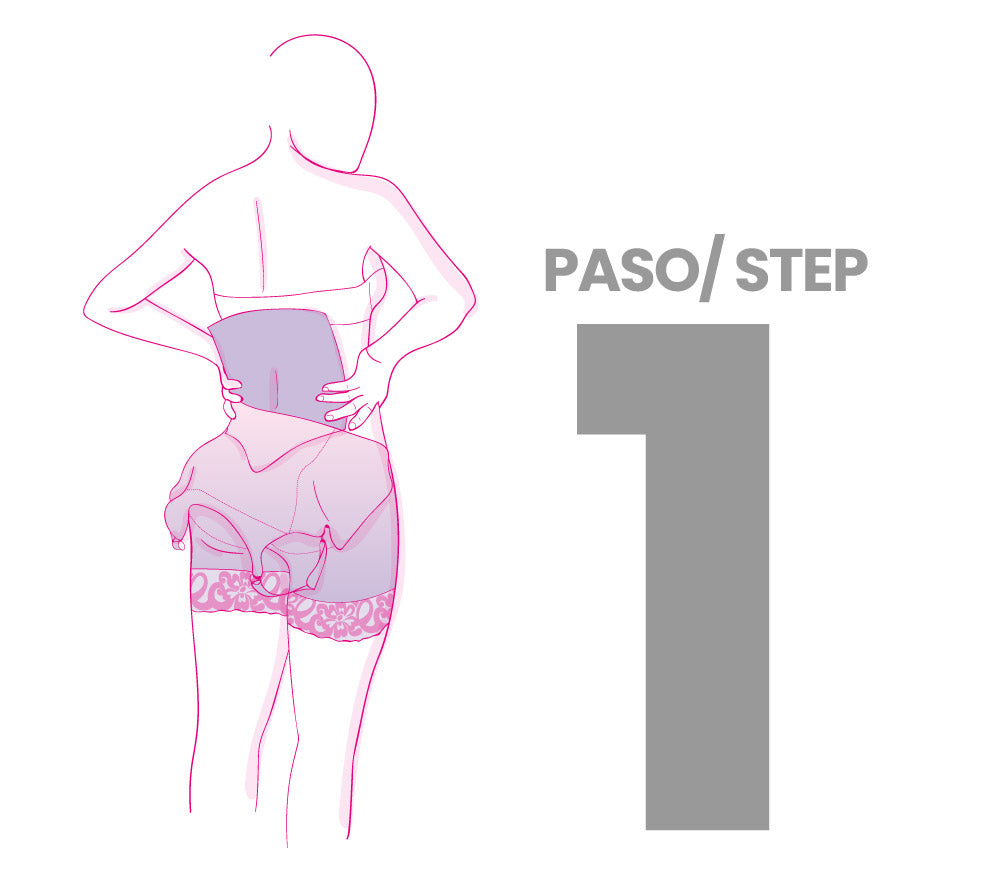
PASO 1° / STEP 1°

Realice todos los pasos para ponerse la faja. Con algunos ganchos abrochados, introduzca la tabla hasta el inicio de la pelvis en posición vertical y centrada en el abdomen.
Follow the instructions for putting on the garment. With some hooks fastened, insert the board up to the beginning of the pelvis in an upright position and centered on the abdomen.
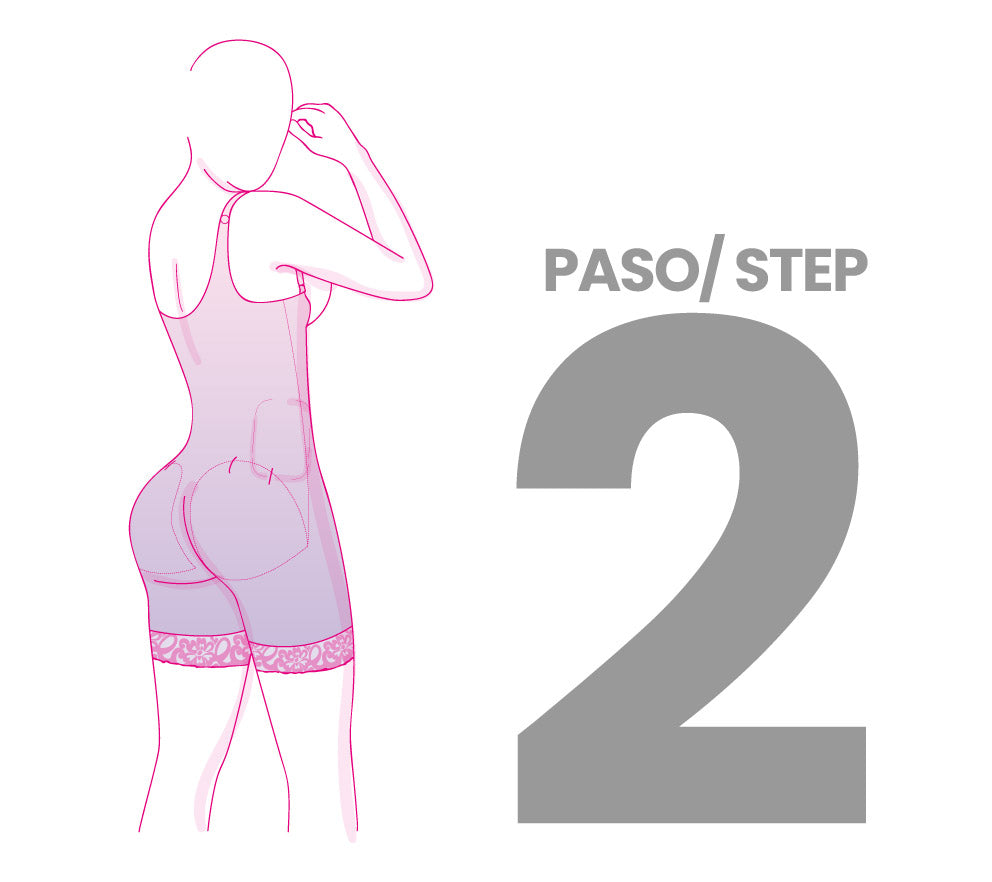
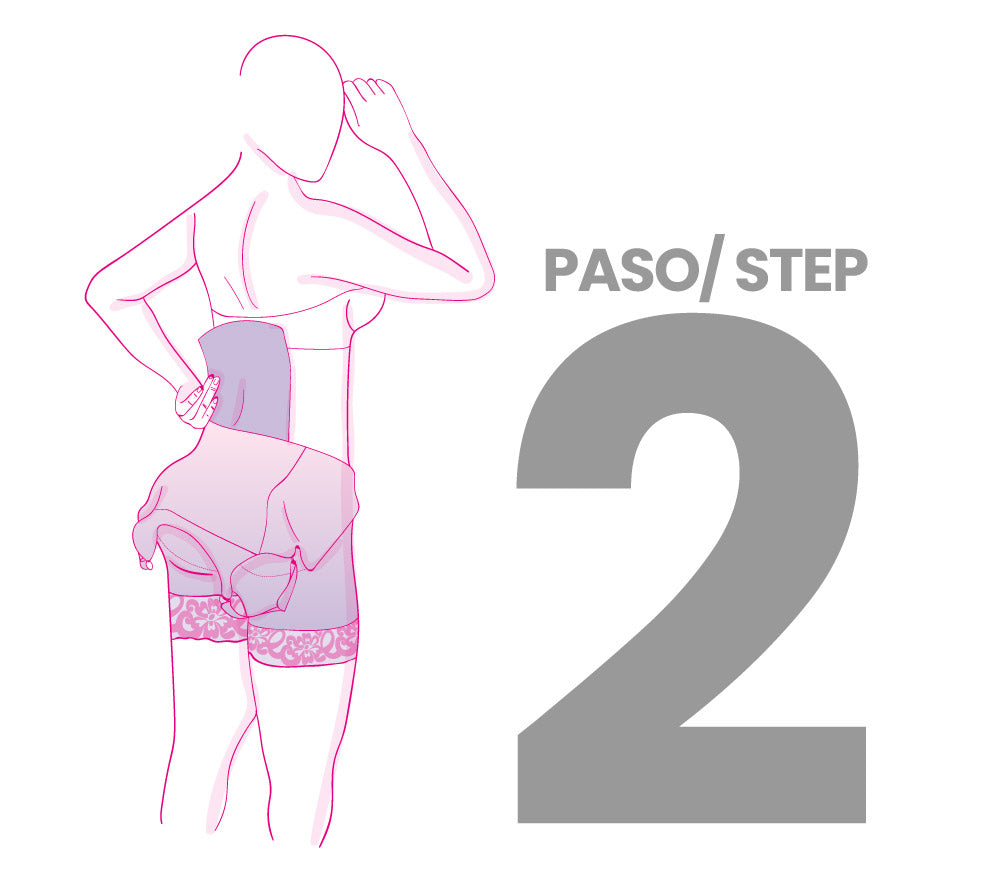
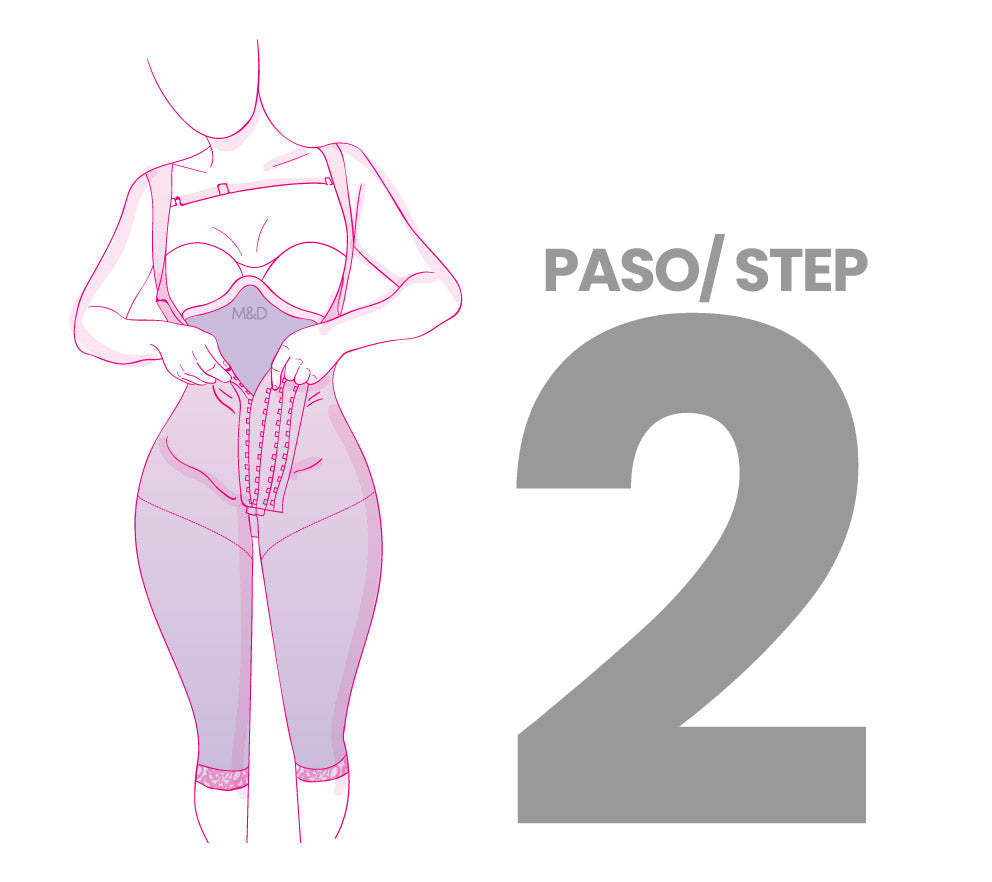
PASO 2° / STEP 2°
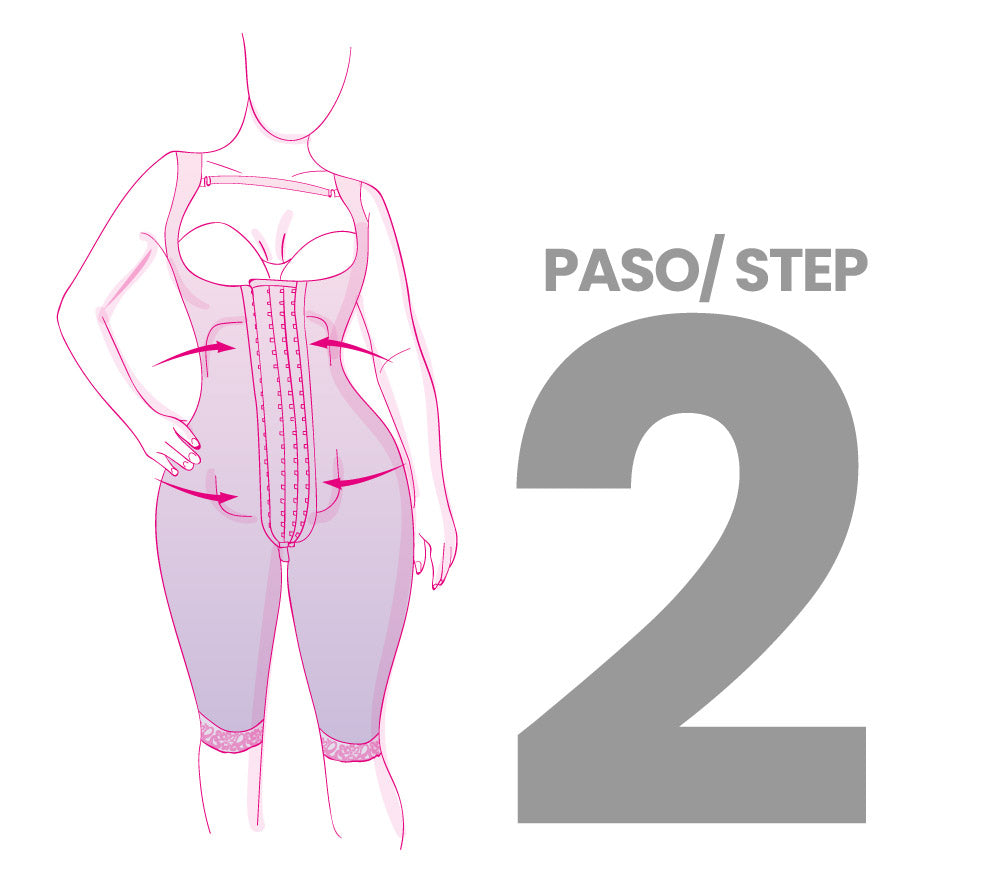
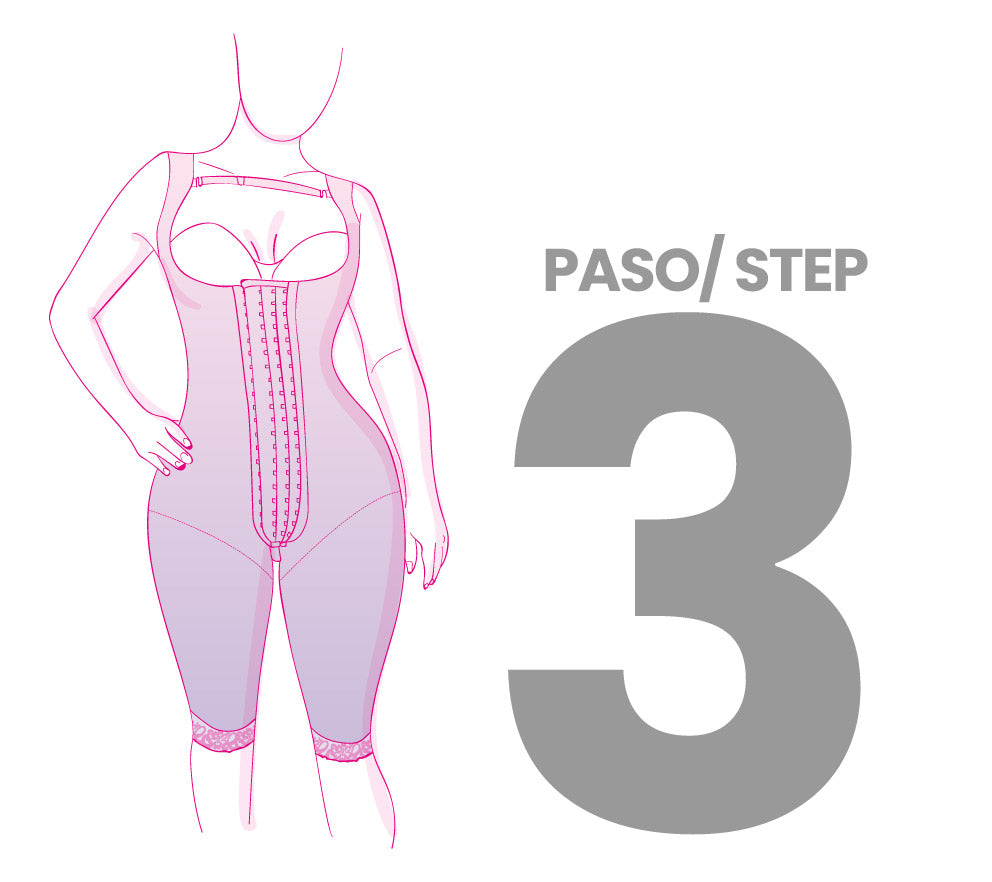
Tenga en cuenta que la parte blanda de la tabla debe quedar en contacto con el abdomen, termine de abrochar la prenda. Realice algunos movimientos para asegurarse que la tabla no genere molestias. En caso de sentir molestias, acomode la tabla con los dedos hasta que logre ubicarla correctamente.
It is important to ensure that the soft part of the board is in contact with the abdomen and that the garment is securely fastened. It is also advisable to move slightly to check that the board is not causing any discomfort. If discomfort is experienced, it can be adjusted with your fingers until the correct position is achieved.
Cómo ponerse una tabla anatómica
How to put on an anatomical board
PASO 1° / STEP 1°
Con la faja puesta hasta la cadera, ubique la tabla en el abdomen.
With the garment fastened up to the hips, place the board on the abdomen.
PASO 2° / STEP 2°
Rodee su contorno con los laterales de la tabla y ajuste con el adhesivo.
The board should then be positioned to fit the contours of the body and fastened in place with the provided adhesive.
PASO 3° / STEP 3°

Suba la faja y termine de abrochar. Este tipo de producto solo se debe utilizar con fajas de alta compresión.
Fasten the belt in place. This product is designed for use with high-compression garments only.
Cómo usar correctamente los protectores laterales
How to properly use side protectors
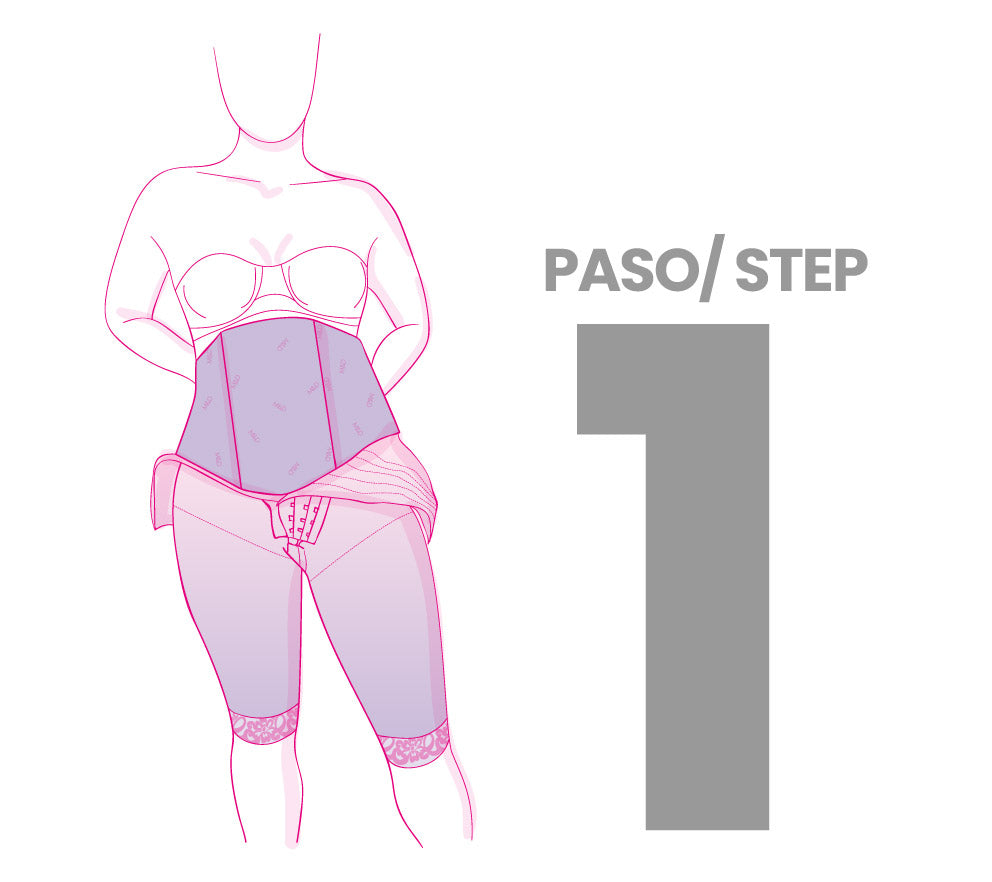
PASO 1° / STEP 1°
Con la faja puesta hasta la cadera y con algunos ganchos abrochados, ubique los protectores laterales en la zona de la cintura, en posición horizontal.
With the garment fastened up to the hips and with some hooks secured, place the side protectors in the waist area, in a horizontal position.
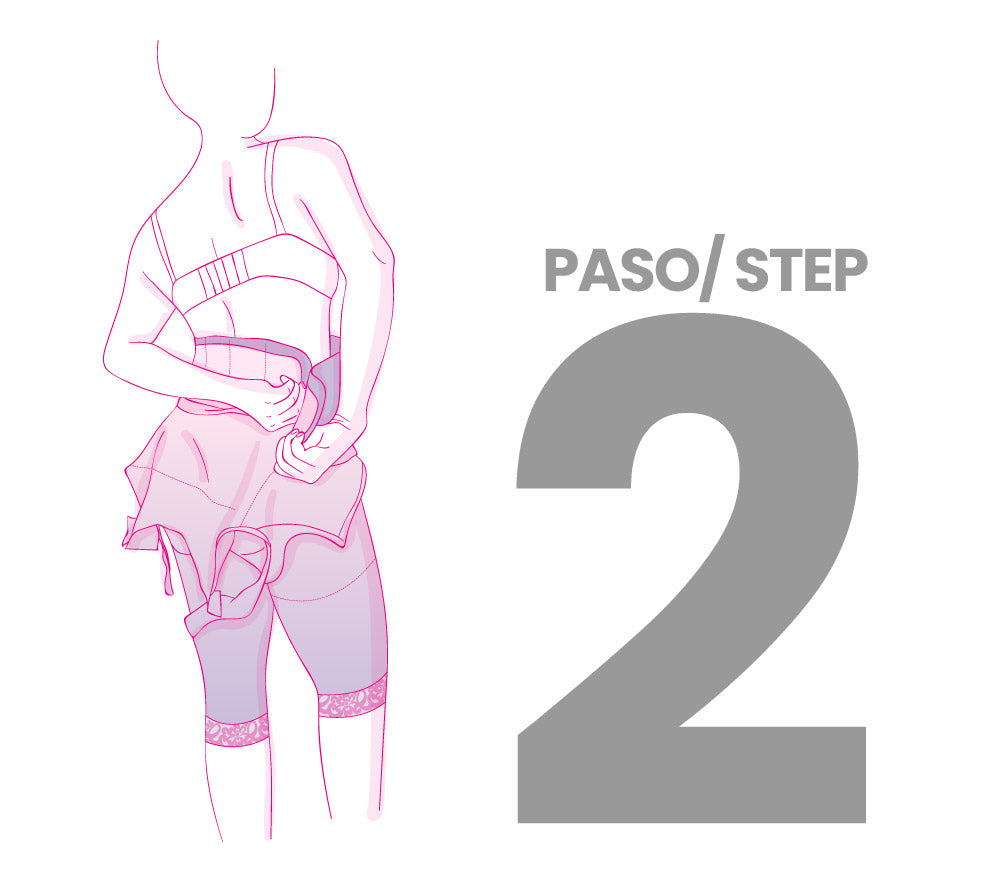
PASO 2° / STEP 2°
Verifique que ambos protectores estén ubicados donde generalmente se dobla la faja, introduzca las manos en las cargaderas, suba la faja y termine de abrochar.
Please verify that both protectors are located where the garment is usually folded. Then, insert your hands into the holders, pull the garment up, and finish buckling.
Cómo usar correctamente un moldeador lumbar
How to properly use a lumbar shaper
PASO 1° / STEP 1°
Suba la faja hasta la cadera y ubique el moldeador en la parte baja de la espalda.
Raise the belt to the waist and place the shaper on the lower back.
PASO 2° / STEP 2°
Tenga en cuenta que la parte plana de este producto debe ir en contacto con la faja.
Make sure the flat part of this product is in contact with the belt.
PASO 3° / STEP 3°

Sosténgalo y termine de abrochar su faja.
Hold it and fasten the belt.
Cómo utilizar correctamente un moldeador abdominal
How to properly use an abdominal shaper
PASO 1° / STEP 1°
Ubique el moldeador en el abdomen. Tenga en cuenta que la parte de los dobleces debe quedar en contacto con la piel, ya que esta zona del material cuenta con componentes antibacteriales.
Place the shaper on your abdomen. Remember that the part of the pleats should be in contact with the skin, as this part of the material has antibacterial components.
PASO 2° / STEP 2°
Evite halar o introducir las uñas ya que estas acciones podrán romper o deformar el tejido. Suba el short hasta la cadera y asegúrese que las costuras queden bien ubicadas.
It is advisable to avoid pulling or inserting fingernails, as this may result in damage to the fabric. The shorts should be pulled up to the hips, with particular attention paid to ensure that the seams are correctly positioned.
PASO 3° / STEP 3°
Suba y termine de abrochar la faja.
Pull the belt up and fasten it.